There’s nothing exciting about learning how to take a screenshot on PC but once you learn how to, it’s an invaluable piece of know-how.
Since they days of Windows XP, Windows 7, Windows 8.1 and now Windows 10, there has been one conventional way of taking a screenshot.
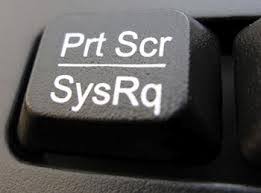 With whatever you’re trying to capture sitting pretty on your desktop, press Prt Scr key on your keyboard once.
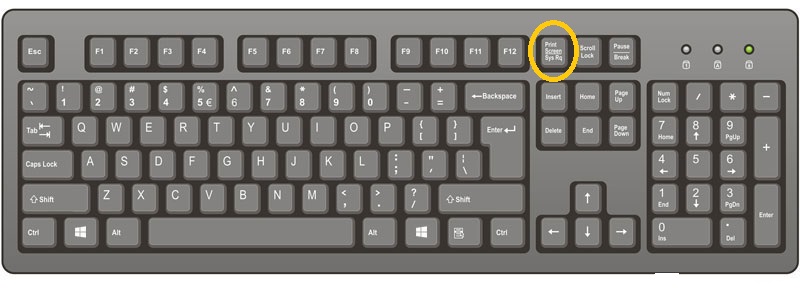
This will take a screenshot of the entire PC desktop and save it to the clipboard. To do anything with the screenshot, open the Paint application, then click on the Paste icon or press Ctrl + V to paste the screenshot in paint.
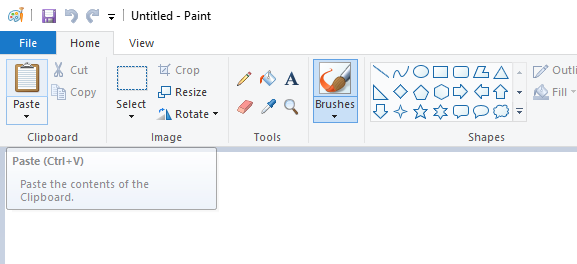
Now you can Edit and/or save the screenshot anywhere in your PC using the Paint application that’s available on all editions of Windows.
Screenshot and Save In PC
If you don’t want to keep opening Paint every time you take a screenshot on your PC, you can have it saved to your Screenshots folder as soon as you take them.
Press the Windows + Prt Scr keys on your keyboard simultaneously for a second. This will take a screenshot of your entire screen and save it as a JPG image in the screenshots folder.

The screenshots will be kept int that folder indefinitely.
There are obviously other ways of taking screenshots on Windows computers but that’s the default method! If you need specific instructions, click on the appropriate instruction below!
