There has always been one conventional way of taking a screenshot on a Windows PC.
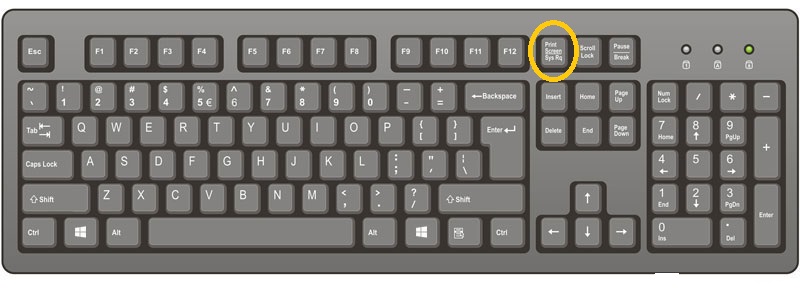
For both desktops and laptops running Windows 7, the key thing is to locate the Prt Scr key on the keyboard. For some laptops, it could be a secondary function so you might have to use it with the Fn key.

Pressing the Prt Scr key on the keyboard will take a screenshot of the entire desktop Window and save it in the computer’s memory. Then you can paste the screenshot in an image editor for saving and manipulation.
Paint is a free image editor in windows 7. You can crop, add or remove things from the screenshot before you save it.
Windows + Prt Scr will take a s screenshot of the entire desktop screen and save it to your computer’s hard drive without any extra input from you. A new folder will be automatically created in the Pictures folder.
Alt + PrtScn will take a screenshot of the Windows in the fore ground. i.e. the active window. But it’s not saved immediately; you have to paste it in Paint or any other image editor you have.
The Snipping Tool is also handy in taking and editing screenshots in Windows 7. It’s available by default on all Windows 7 operating systems.
Just search for the words “snipping tool” in the Start Menu search box. When the tool is launched, select the snip mode and use your mouse over the area of your screen you want to capture.

